Peach bourbon jam

Equipment & Tools
5 8-ounce regular-mouth jars, rings, and lids
Water-boiling canning pot
Rack
Jar lifter
Large pot
Saucepan
2 large bowls
Strainer
Knife
Cutting board
Measuring cups and spoons
Potato masher or large fork
Silicone spatula
Ladle
Wide-mouth funnel
Thermometer
Splatter screen
Towel or drying rack
Ingredients
Produce:
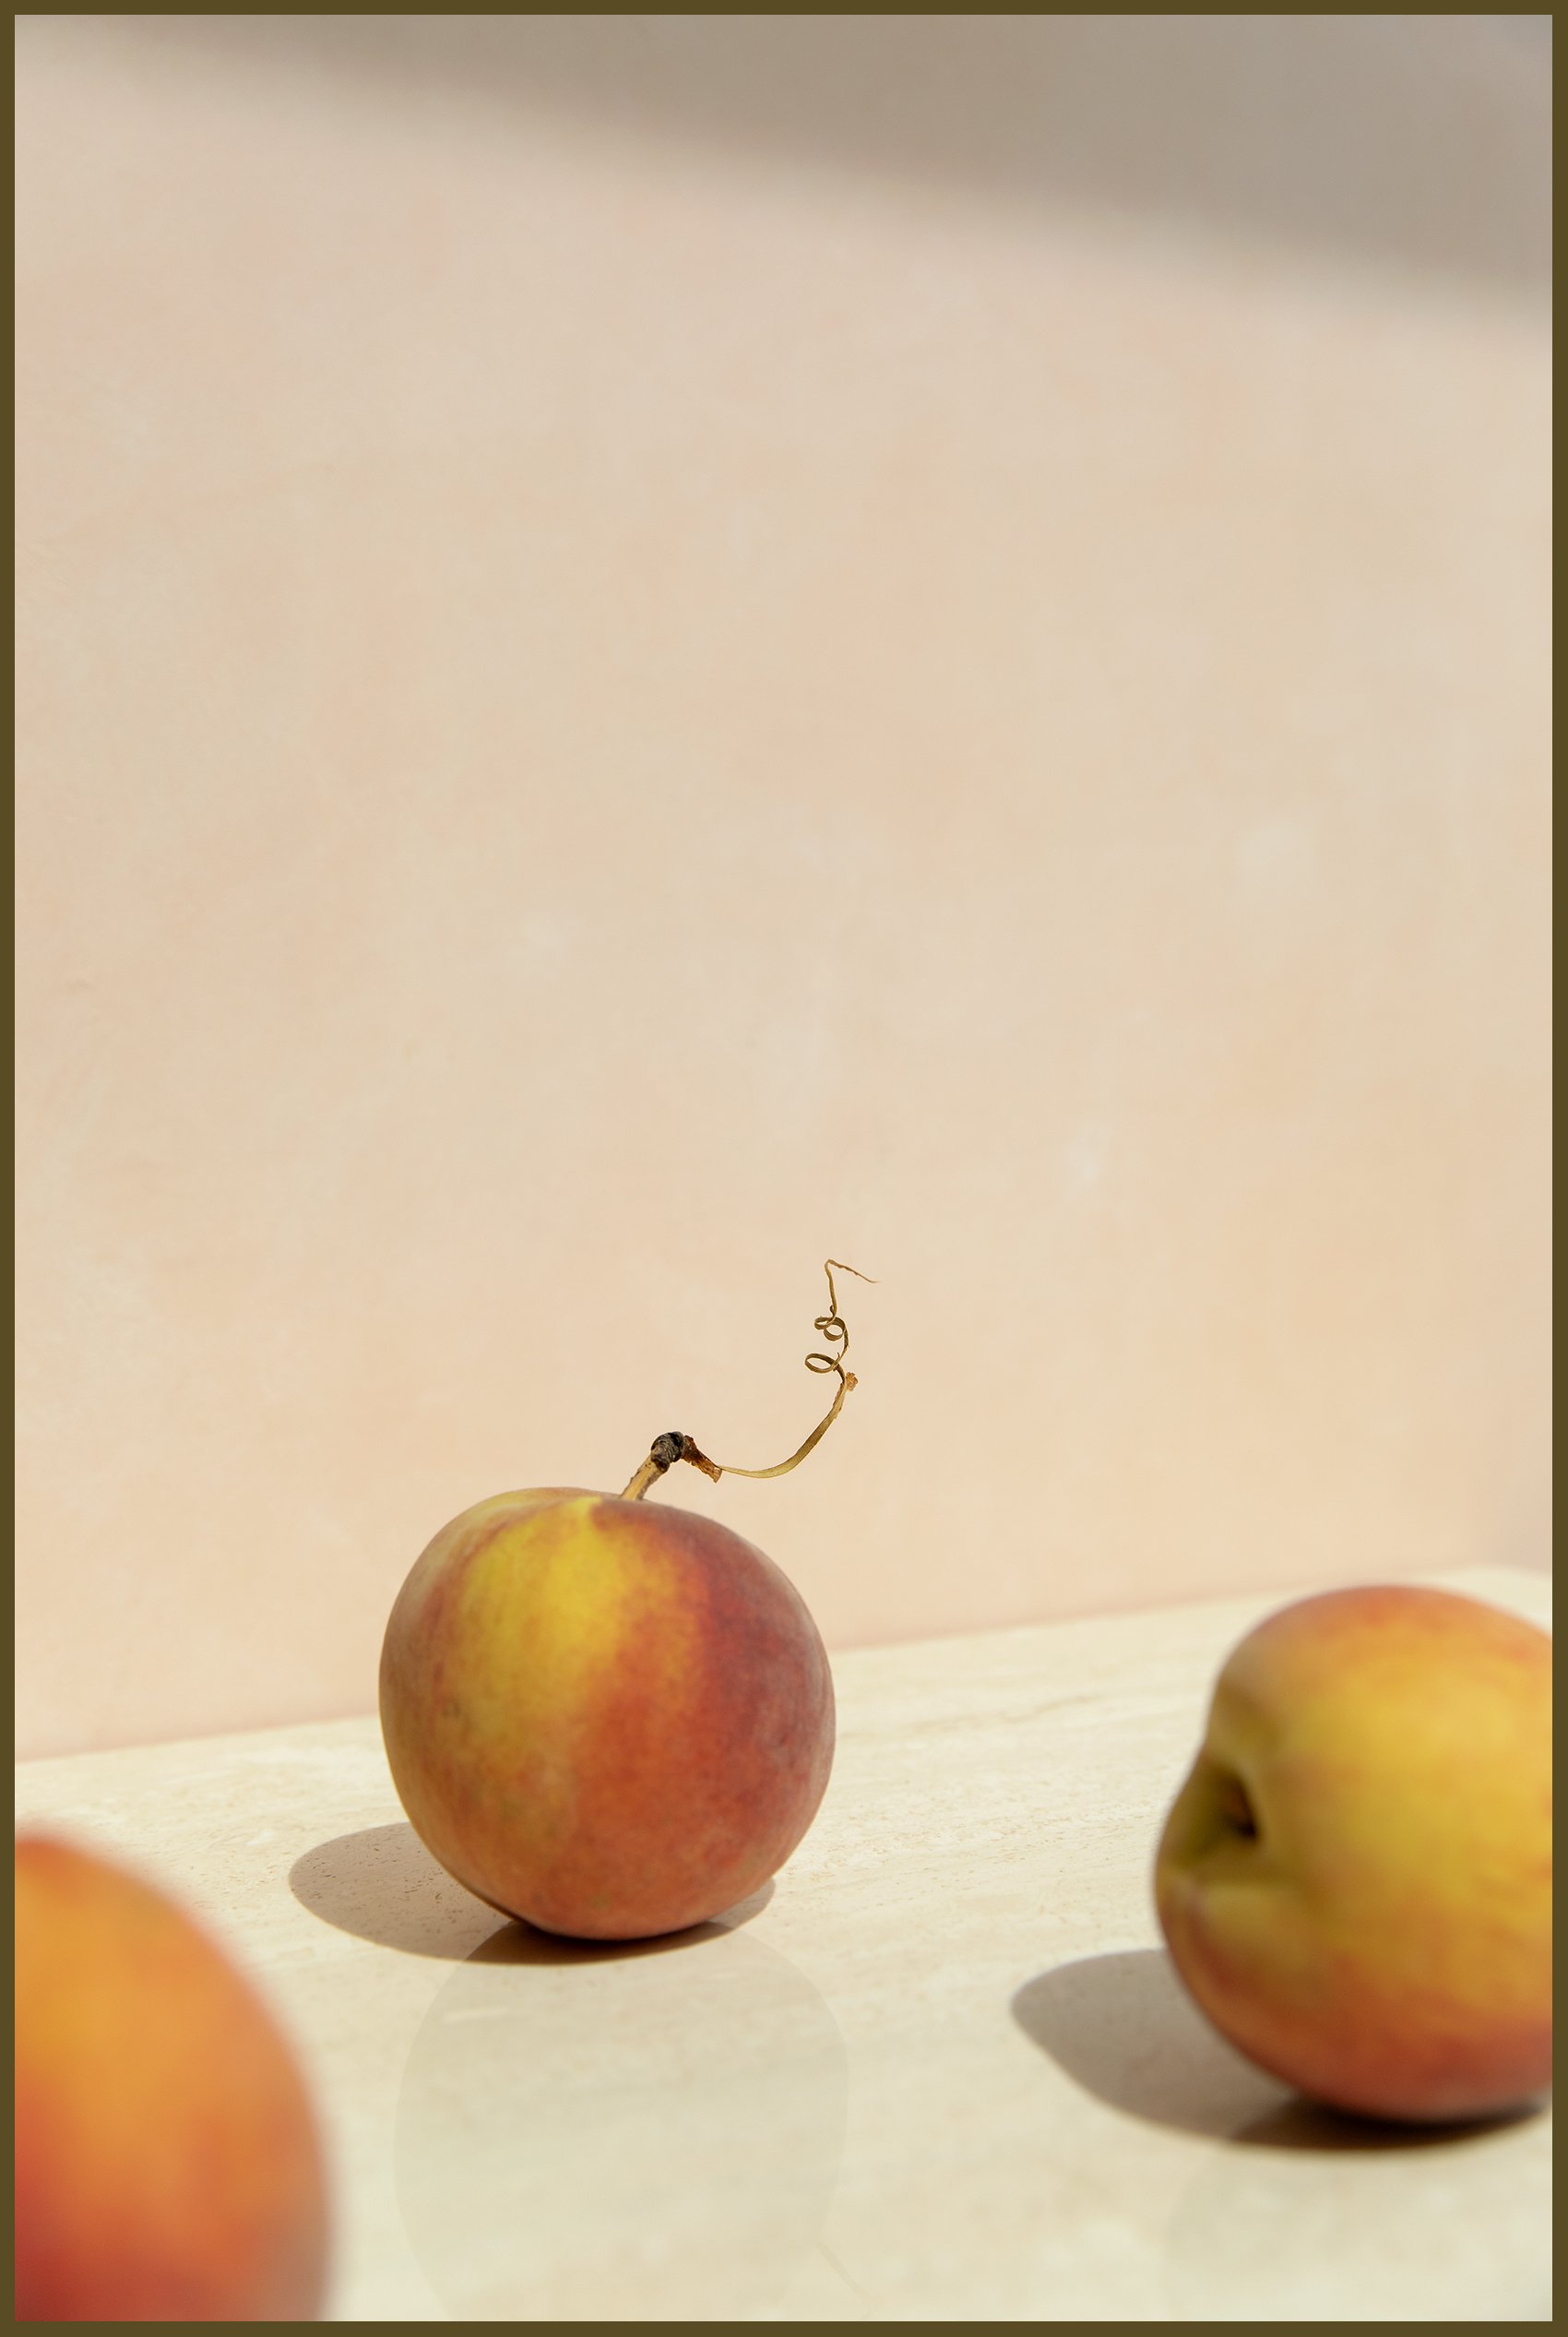
3 lbs peaches
Acidic solution:
12 cups water
3 teaspoons ascorbic acid
Additional:
2 tablespoons lemon juice
4 tablespoons pectin
3 cups sugar
2 tablespoons bourbon
Recipe Notes
Peach Bourbon Jam is a favorite seasonal cocktail in the form of preserves. The sweetness of peaches and caramel notes of bourbon create a balanced and rich experience that is meant for summertime. This jam is elevated, dynamic, and complementary of rich cheeses, prosciutto, and fresh bread.
You can add an additional tablespoon of your favorite bourbon for a more spirit-forward taste.
Step-by-Step Process
Yield: Approximately 5 8-ounce jars
Total steps: 22
Take a look around your kitchen. Make sure it’s a space in which you’re ready to spend some time. Turn up your favorite playlist, open a window, or light a new candle.
Prepare your ingredients, and read the full recipe. Set your ingredients out, and make sure you have every item you need before getting started. Read through each step below to learn your landscape ahead.
Place a plate in your freezer. This chilled plate comes in handy at Step 16 when you’re ensuring your jam has set and is ready to be ladled into your jars.
Prepare your water-boiling canning pot and jars. Fill your canning pot with water. Place your rack inside your canning pot. Do not yet submerge your rack. Place the jars and rings on top of the rack. Submerge the rack, jars, and rings, allowing the jars to completely fill with water. Ensure the water level is ultimately about 1 inch above your jars. Place your lid on your canning pot, and bring to a boil for 5 minutes. This step not only prepares your water-boiling canning pot, or water bath, but it also sterilizes your jars. (Boiling water may harm the sealant on your lids, so sterilize your lids by placing them in a saucepan of 180°-water for 5 minutes.) Once your water-boiling canning pot has boiled for 5 minutes, remove your jars and rings from your canning pot. Remove your lids from your saucepan. They’re going to be hot to the touch, so use your jar lifter to protect your hands. Allow jars, rings, and lids to cool.
Prepare your large bowl of acidic solution. To do this, simply fill your large bowl with water and ascorbic acid: 1 cup of water per ¼ teaspoon of ascorbic acid. In total, I recommend using 12 cups of water and 3 teaspoons of ascorbic acid. The solution prevents your peaches from bruising or browning once they are peeled but not yet in your jar submerged in syrup.
Rinse your peaches in cool water.
Blanch your peaches. Fill your large pot with water, and bring to a boil. As you’re waiting for the water to begin boiling, fill your second large bowl with ice water. (You can also plug your sink and fill it with ice water. Both the boiling water and ice water need to be ready at the same time.) Once the water is boiling, drop your peaches into the water for 90 seconds. Start timing after the last peach has been dropped. (Do not overcrowd your pot. Blanch a single layer of peaches at a time, and move through a couple rounds of blanching if needed.) After 90 seconds, remove your peaches from the boiling water, and immediately submerge them in your ice water. Allow them to completely cool. While your peaches cool, wash and rinse the large pot you used to blanch them. You can reuse this to prepare your syrup and cook your peaches.
Halve and core your peaches. Cut your peaches in half vertically. Then, remove the pit using your fingers. Again, immediately place each peach into your bowl of acidic solution until your large pot of syrup is ready.
Chop your peaches. Chop each halved peach into ½ to 1-inch pieces.
Place your chopped peaches in your large pot. Begin to heat your peaches on low to medium as you begin to crush them. Use a potato masher or large fork to crush your peaches. I like to say I “semi-to-fully crush” my peaches. I allow small pieces of my peaches to remain intact. Use your spatula to begin slowly stirring. This should take about 5 minutes. Do not boil at this step.
Add your lemon juice. Once your peaches are crushed, continue slowly stirring using your spatula. As you continue stirring, add your lemon juice tablespoon by tablespoon. Include any jam that has made its way up the sides of your pot.
Add your pectin. As you continue stirring, add your pectin tablespoon by tablespoon. Still include any jam that has made its way up the sides of your pot.
Add your sugar. As you continue stirring, add your sugar cup by cup. Still include any jam that has made its way up the sides of your pot.
Boil your jam. Increase your heat to bring your jam to a low, gentle boil. Once it has reached a low, gentle boil, boil for 5 minutes. Continuously stir. Use your splatter screen if needed.
Add your bourbon. Slowly stir, and fully incorporate. Boil 1 additional minute.
Make sure your jam has set. You can ensure your jam has set via 2 ways. Firstly, ensure it has set via a freezer test. Remove your chilled plate from your freezer, and place a spoonful of jam onto your plate. Wait 2 minutes. After 2 minutes, nudge your spoonful of jam with the tip of your finger. If it wrinkles as your finger moves through, it has set. If your finger moves smoothly through your jam, allow it to boil 5 additional minutes, and test again. Secondly, you can ensure it has set by paying close attention to the way it drips off your spatula via a drip test. Hold your spatula above your pot, and notice how your jam drips. If it drips quickly and appears thin, it hasn’t yet set. If it drips slowly and more heavily, it has set! Ensuring your jam has set is something that can make you feel unsure, but don’t let it! Following these steps, using the freezer test, and paying close attention to how it drips will ensure your jam has thickened to a delightful consistency.
Transfer your jam into jars. Your jam will be very hot, so do this carefully. Use your funnel to guide each pour, and use a ladle or a measuring cup to transfer your jam. Fill each jar to the lowest part of the jar’s mouth, about ½ inch below the rim of the jar.
Tidy your jars. Wipe your jars clean, especially the rim of each jar, with a warm, damp towel.
Add your lids and rings. Tighten.
Process your jam. Submerge your jam into your water-boiling canning pot. Allow your jars to boil for 5 minutes. Begin your timer once your water is boiling. Adjust for altitude if needed.
Cool. Carefully remove your jars from the water using your jar lifter, and set them on a towel or drying rack to cool.
Ensure they have sealed. Once cooled, ensure your jars have sealed properly. You can do this via 2 ways: listen for your jar to “pop,” an audible indication it has sealed, or push the center of the lid to see if it pops up and down. If it doesn’t, it’s sealed! Date your jar, and store for up to 1 year. If the lid does pop up and down, it did not seal. Simply put that jar in your refrigerator, and enjoy within 1 month.