CANNED PEAR SAUCE
Equipment & Tools
2 32-ounce regular- or wide- mouth jars, rings, and lids
Water-boiling canning pot
Rack
Jar lifter
Saucepan
Thermometer
Large bowl
Measuring cups and spoons
Strainer
Melon baller
Large pot
Blender
Silicone spatula
Ladle
Wide-mouth funnel
Towel or drying rack
Ingredients
Produce:
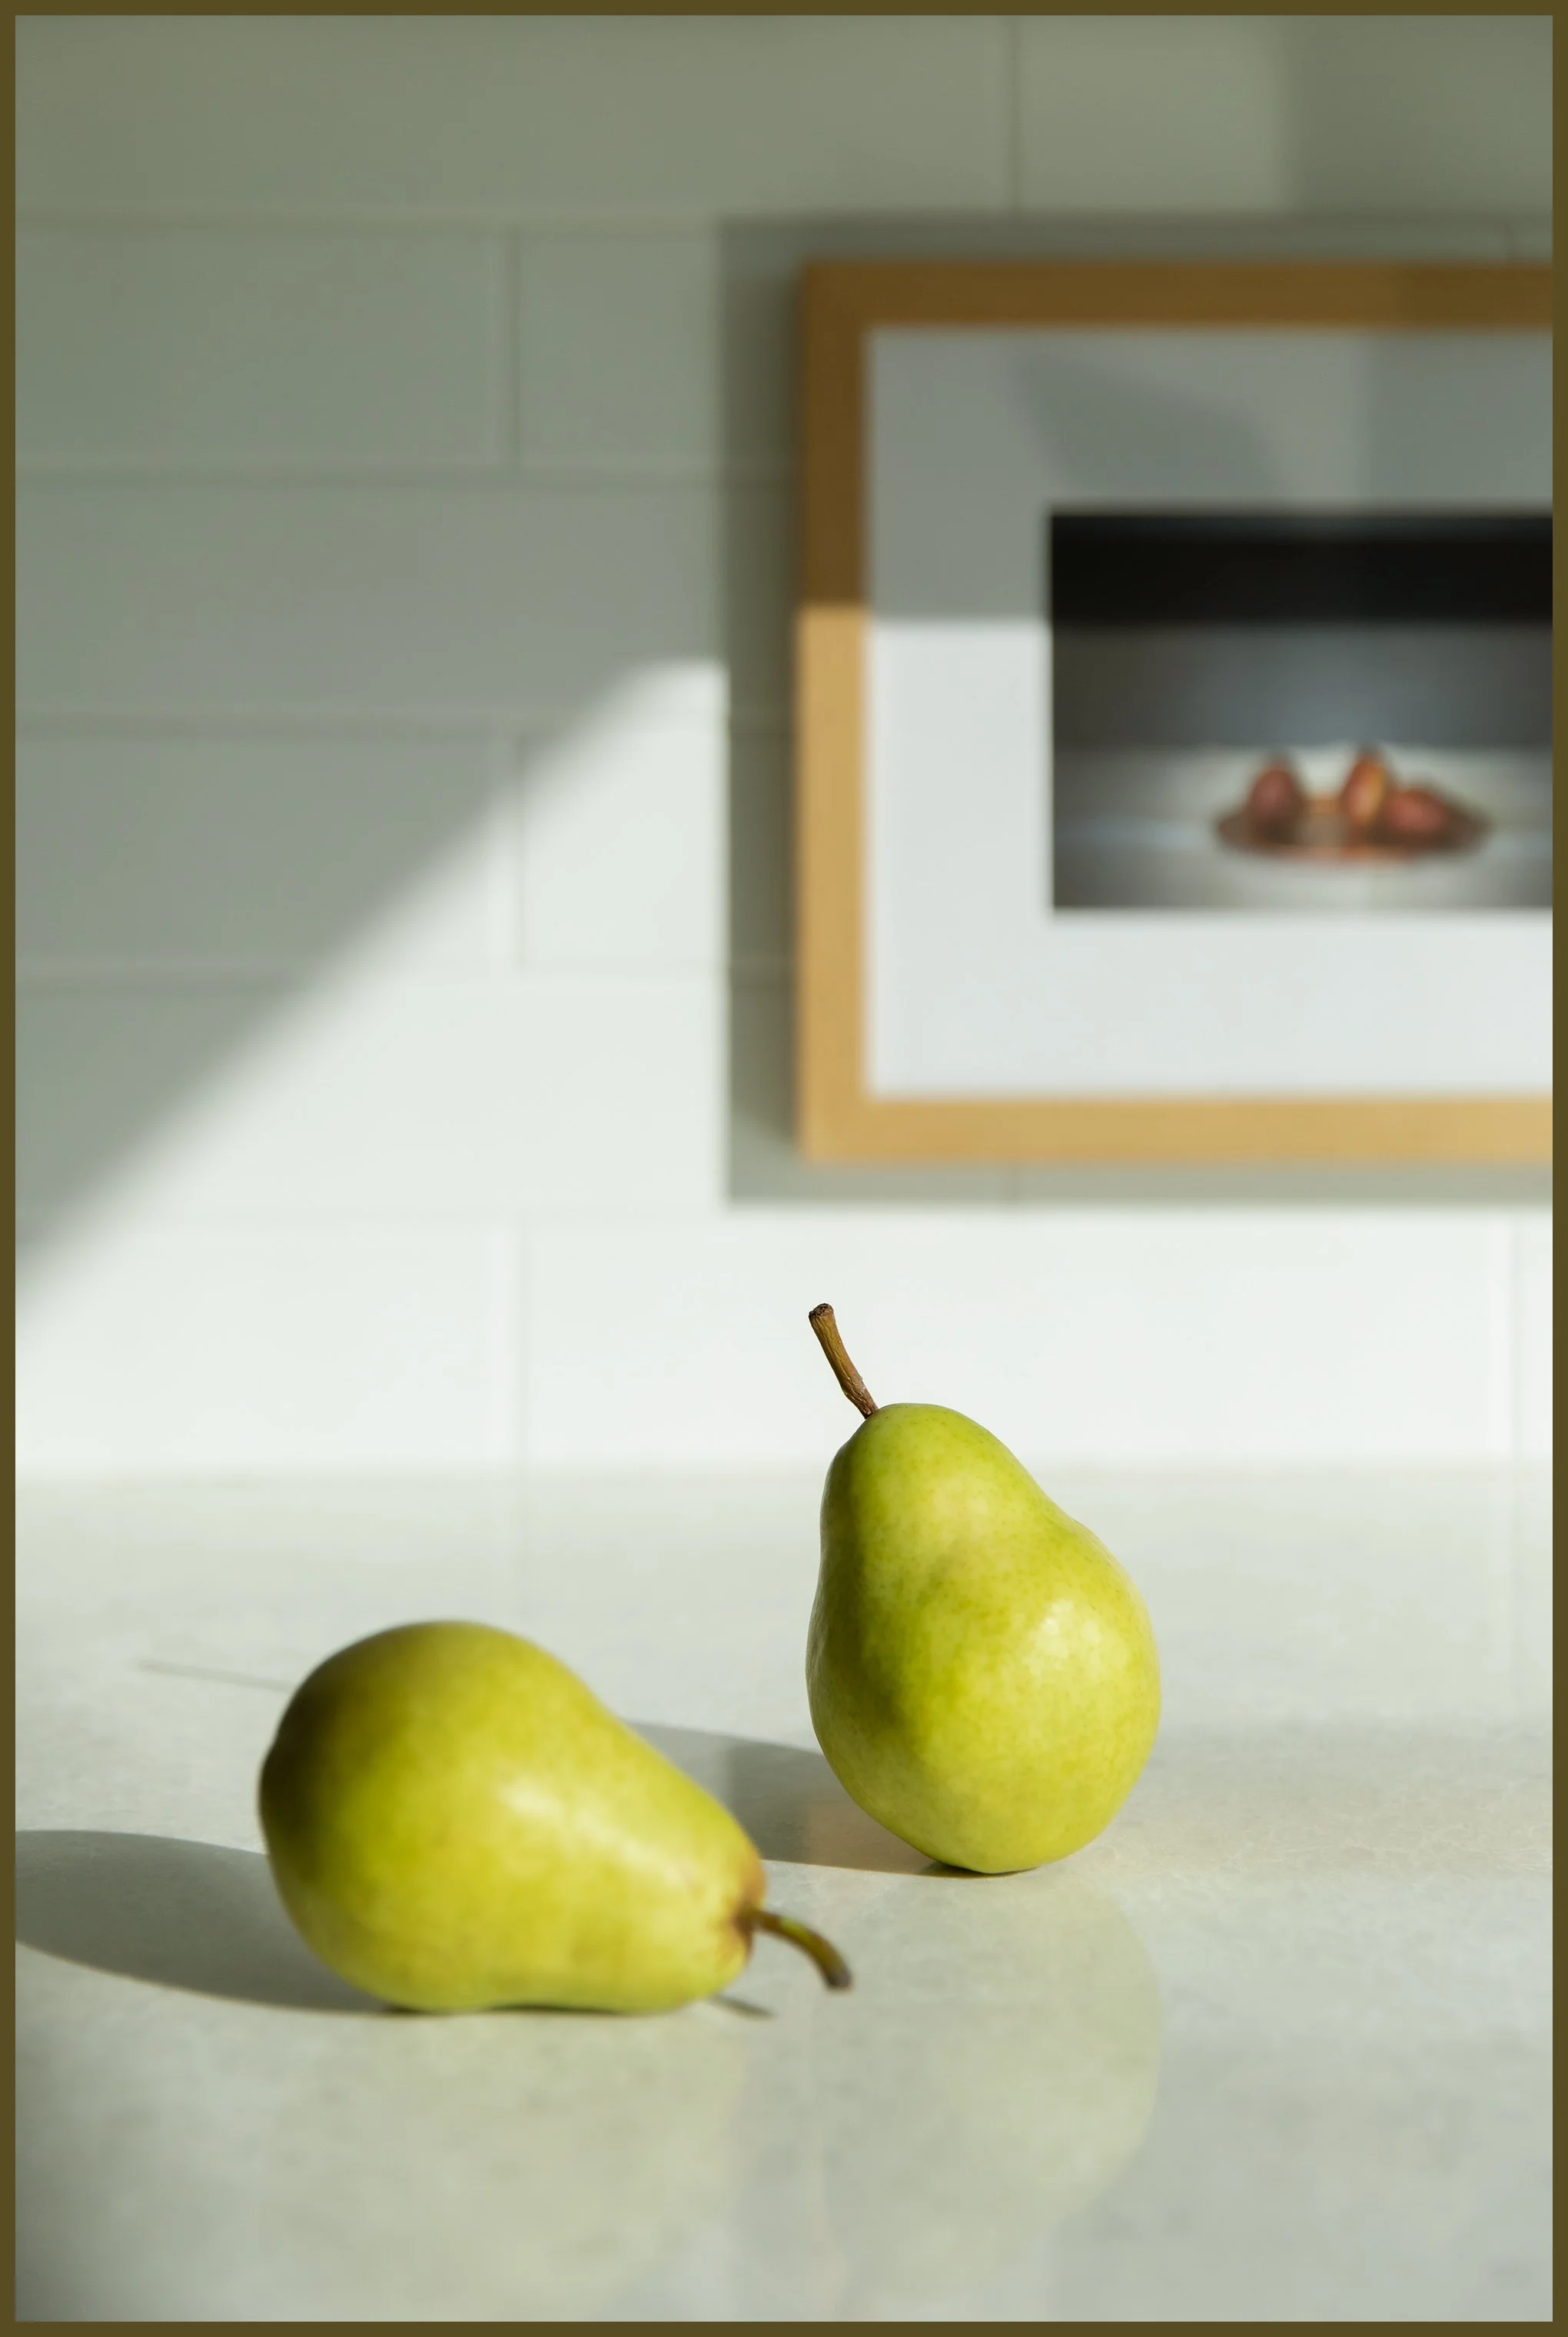
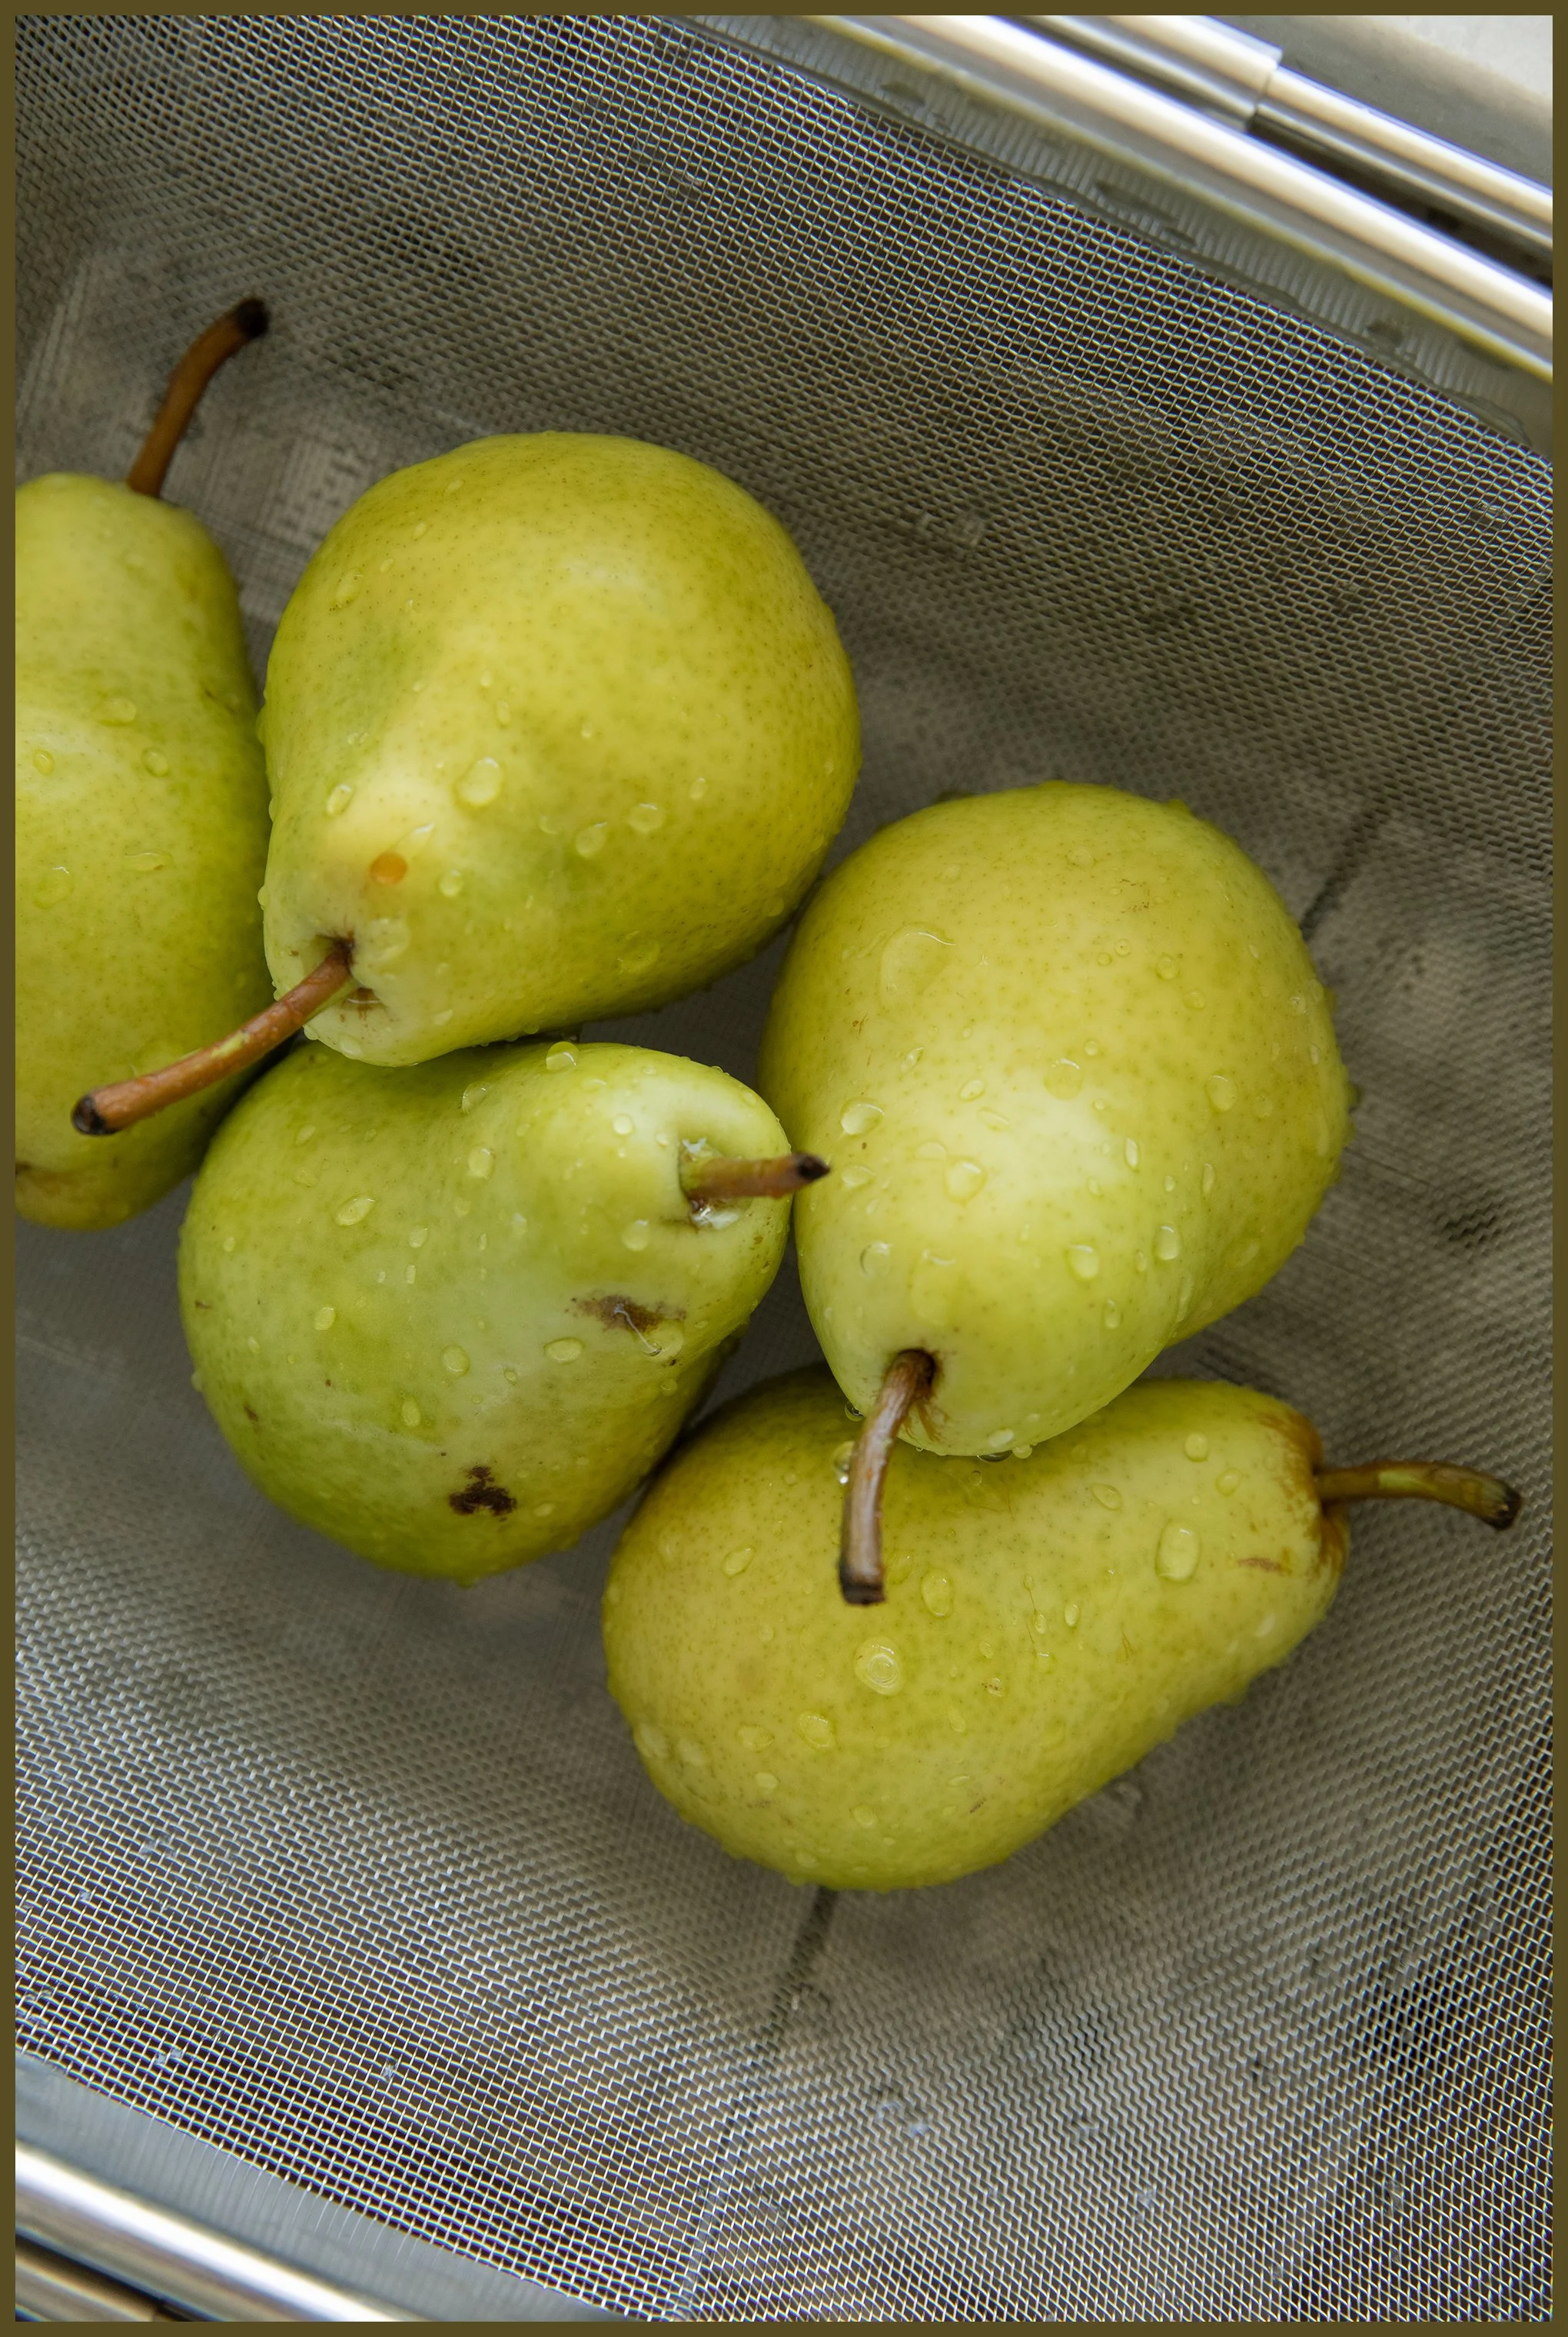
6 lbs pears
Acidic solution:
13 cups water
3 teaspoons ascorbic acid
Additional:
2 tablespoons lemon juice
Recipe Notes
Canned Pear Sauce is a simple way to diversify your pantry. Similar to Canned Applesauce, Canned Pear Sauce is an excellent approach to saving in-season pears efficiently and flavorfully. You can eat Canned Pear Sauce straight out of the jar or use it as a delicious ingredient in a heartwarming meal.
You can add up to 3⁄4 teapsoon of your favorite spice, such as cinnamon, nutmeg, or ground allspice. I recommend adding 1⁄4 teaspoon at a time and taste testing after each one. You can then decide to stop at 1⁄4 teaspoon or 1⁄2 teaspoon.
We peel, core, and slice our pears at Step 06. I recommend using a vegetable peeler to peel your pears and a melon baller to core them.
We blend our pears at Step 10. Your pears will be very hot. If you create a complete seal with your blender and its lid, the internal pressure of your blender will increase due to the high temperature of your pears. We want to avoid this. We must allow space for the heat and increased pressure to escape, or vent. Allow space between your blender and its lid for the heat to escape as you carefully blend.
Finally, I recommend using Bartlett pears.
Step-by-Step Process
Yield: Approximately 2 32-ounce jars
Total steps: 17
Take a look around your kitchen. Make sure it’s a space in which you’re ready to spend some time. Turn up your favorite playlist, open a window, or light a new candle.
Prepare your ingredients, and read the full recipe. Set your ingredients out, and make sure you have every item you need before getting started. Read through each step below to learn your landscape ahead.
Prepare your water-boiling canning pot and jars. Fill your canning pot with water. Place your rack inside your canning pot. Do not yet submerge your rack. Place the jars and rings on top of the rack. Submerge the rack, jars, and rings, allowing the jars to completely fill with water. Ensure the water level is ultimately about 1 inch above your jars. Place your lid on your canning pot, and bring to a boil for 5 minutes. This step not only prepares your water-boiling canning pot, or water bath, but it also sterilizes your jars. (Boiling water may harm the sealant on your lids, so sterilize your lids by placing them in a saucepan of 180°-water for 5 minutes.) Once your water-boiling canning pot has boiled for 5 minutes, remove your jars and rings from your canning pot. Remove your lids from your saucepan. They’re going to be hot to the touch, so use your jar lifter to protect your hands. Allow jars, rings, and lids to cool.
Prepare your large bowl of acidic solution. To do this, simply fill your large bowl with water and ascorbic acid: 1 cup of water per ¼ teaspoon of ascorbic acid. In total, I recommend using 12 cups of water and 3 teaspoons of ascorbic acid. The solution prevents your pears from bruising or browning once they are peeled but not yet in your jar submerged in syrup.
Rinse your pears in cool water.
Peel and core your pears, then slice. Refer to Recipes Notes above. Place each peeled, cored, and sliced pear into your bowl of acidic solution. Keep them here until you are ready to boil them.
Transfer your pears to your large pot. Cover them with 1 cup of water. Bring to a low boil. Boil for 1 minute.
Cook your pears. Reduce heat to low to medium, and simmer for 20 minutes. Use your spatula to slowly stir.
Add your lemon juice. Once your pears have simmered for 20 minutes, add your lemon juice tablespoon by tablespoon. Use your spatula to continue slowly stirring.
Blend your pears. Transfer your pears to your blender, and carefully blend. Your pears will be very hot, so ensure you allow space between your blender and its lid for the heat to escape. If you are not able to allow space, ensure your pears have cooled before blending. Refer to Recipes Notes above.
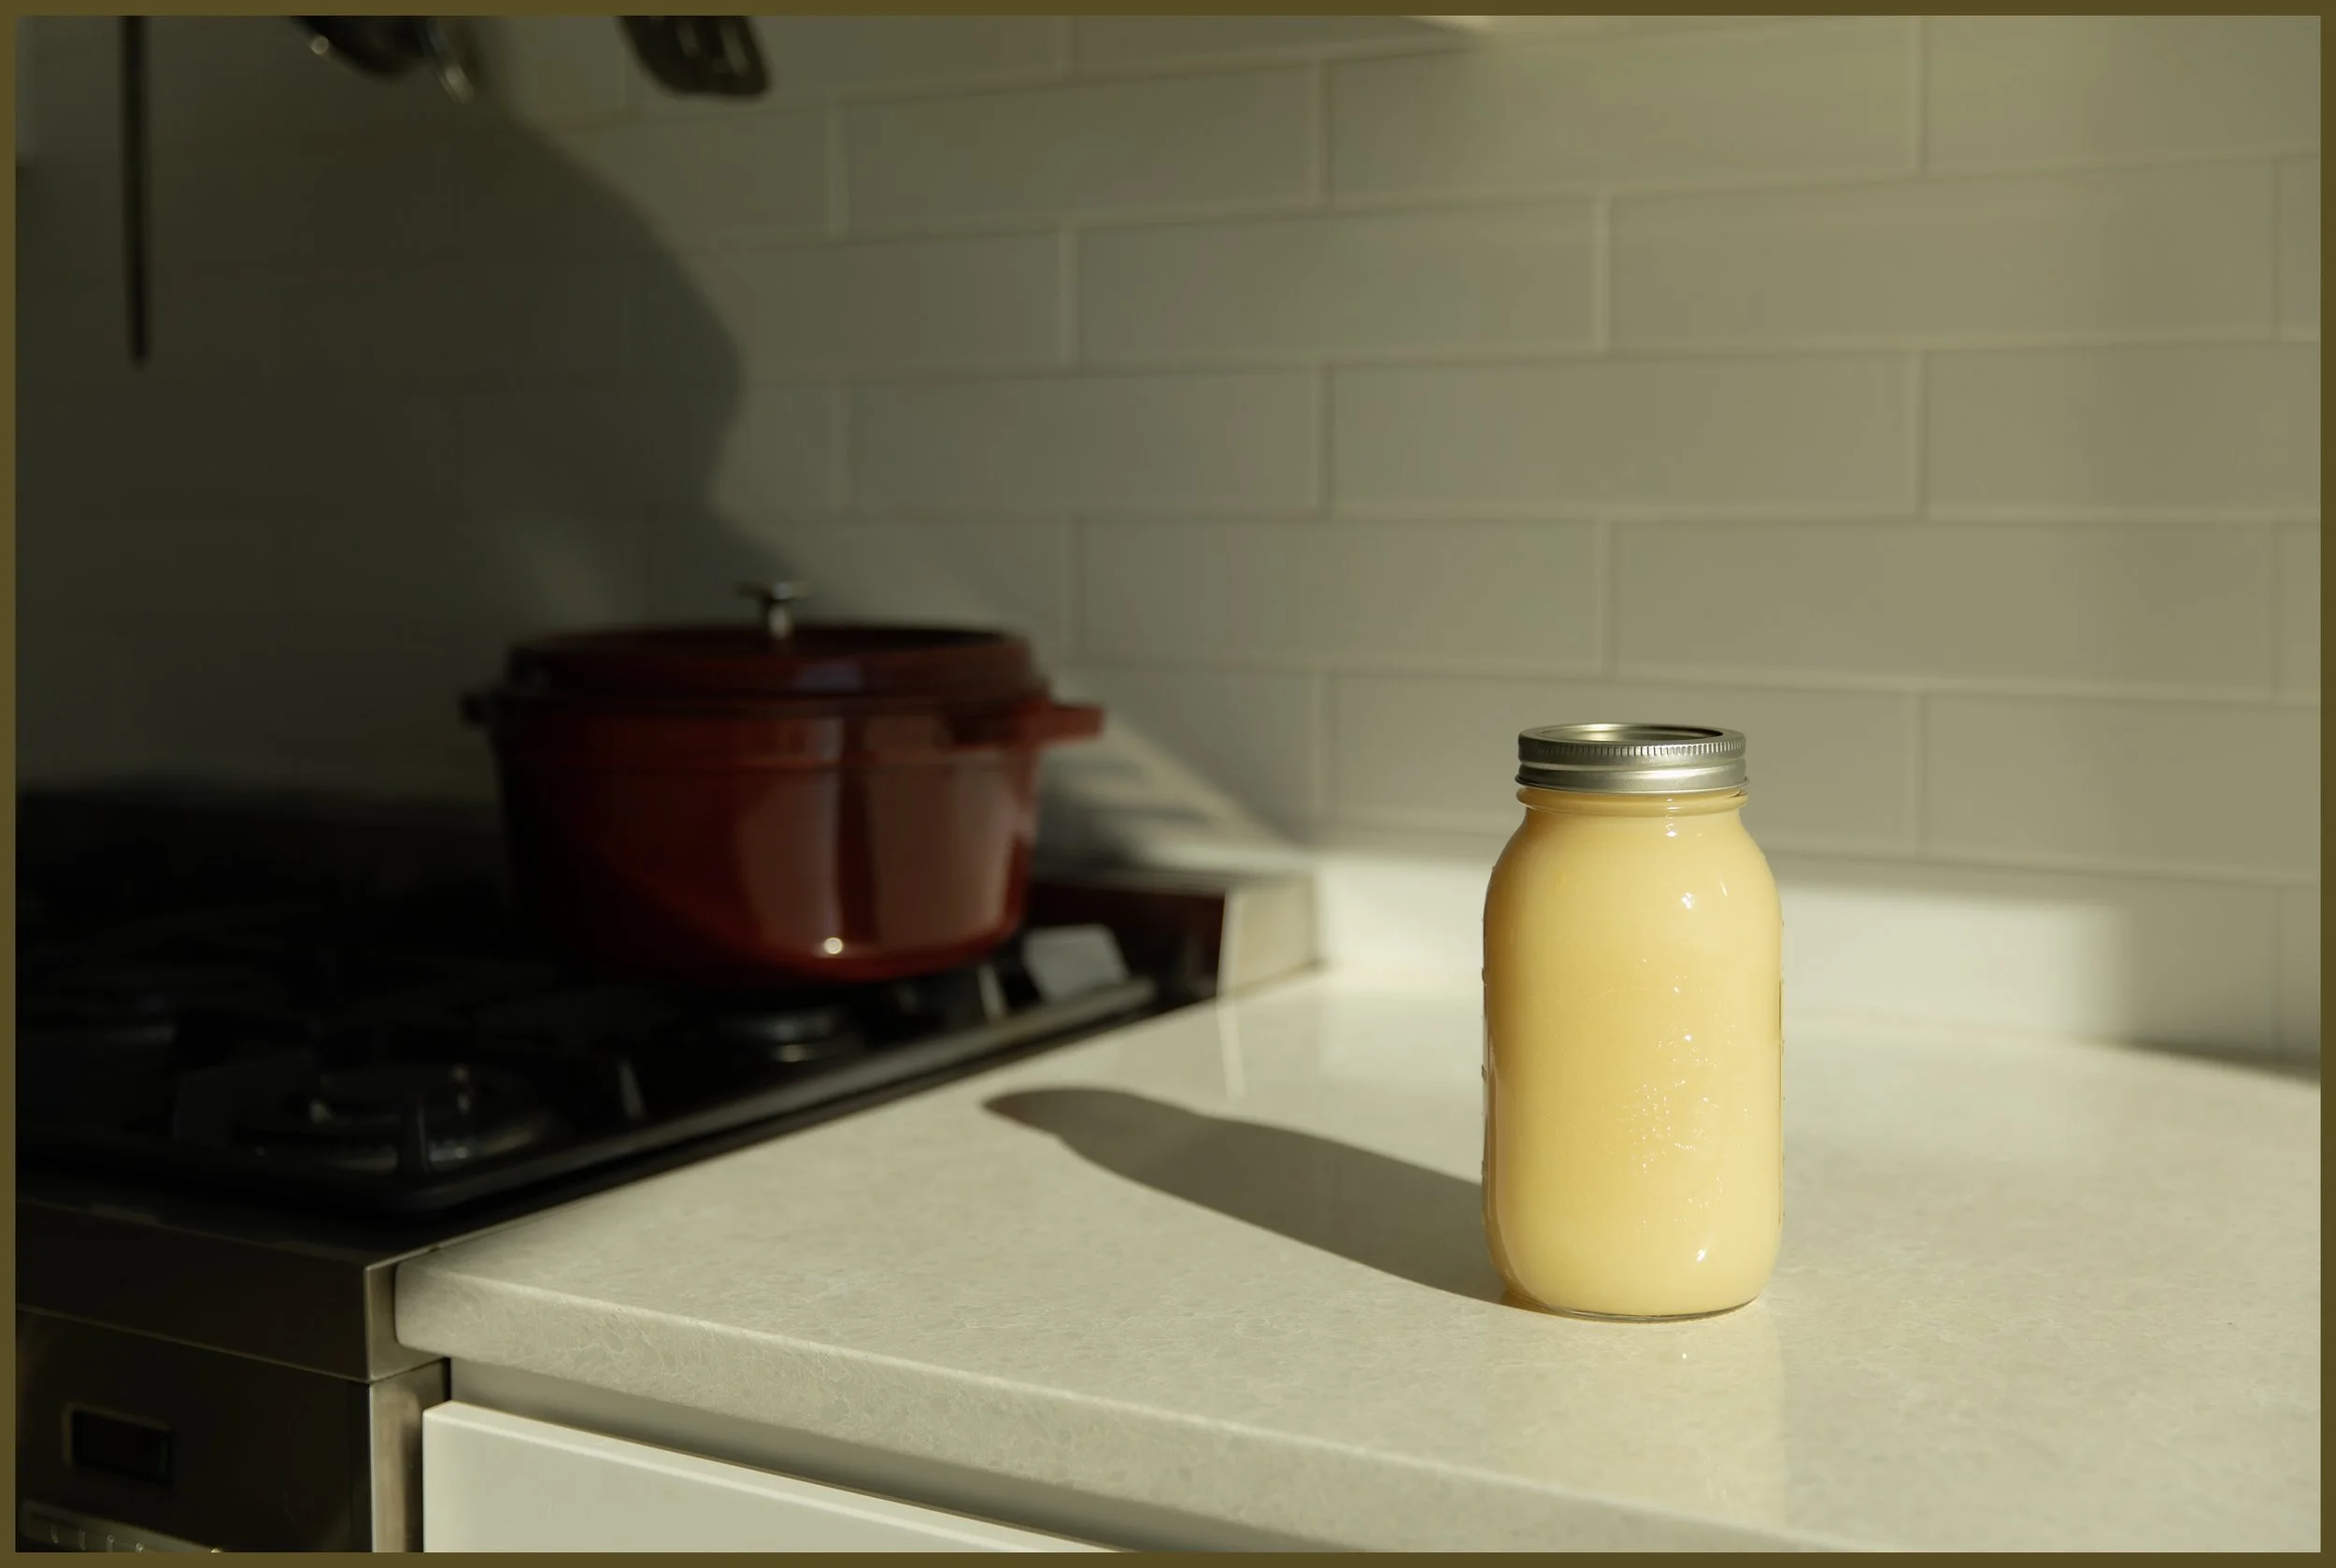
Transfer your pear sauce to your jars. The pear sauce will be very hot, so do this carefully. Use your funnel to guide each pour, and use a ladle or a measuring cup to transfer your pear sauce. Fill each jar to the lowest part of the jar’s mouth, about 1⁄2 inch below the rim.
Remove air bubbles. If you see any bubbles in the jars, use a spatula to guide them out.
Tidy up. Wipe your jars clean, especially the rims, with a warm, damp towel.
Add your lids and rings. Tighten.
Process your pear sauce. Submerge your jars into the water-boiling canning pot. Allow them to boil for 20 minutes. Begin your timer once your water is boiling. Adjust for altitude if needed.
Cool. Carefully remove your jars from the water using a jar lifter, and set them on a towel or drying rack to cool.
Ensure they have sealed. Once cooled, either listen for your jar to “pop,” an audible indication it has sealed, or push the center of the lid to see if it pops up and down. If it doesn’t, it’s sealed! Date your jar, and store for up to a year. If the lid does pop up and down, it did not seal. Simply put that jar in your refrigerator, and enjoy within a month.